
I've seen tons of these cute bookmarks on Pinterest. Since I'm reading a new book, I've decided to make my own bookmarks too :) . These bookmarks add a fun spice to your book's persona.

It's very easy to do, the materials are very basic and it can be made in less than 5 minutes. Let's start!
Materials:

- Paper
- Glue/Paste
- Pencil
- Ruler
- Scissors
Steps:
- Choose a colored paper you want to make a bookmark from. Cut a 12 x 12 cm square.

- Using a ruler and a pencil, draw a template like this :


- Use your scissors to cut out the shaded triangles.

- It should look like this:

- Fold the two triangles with the guide of the lines.


- Apply glue between them. Let it dry.

- You can now decorate it in any way you want!.

Here's mine :)
- I've decided to make a cute crocodile. I used colored papers and cut some circles to make an eyes. I also cut a zigzag for its sharp teeth.

- I also added two small circles for the nose. I used glue to attach them. Tadaaa~
 |
| Meet Mr. Croco :) |
~~~~~~~~~~~~~~~~~~~~~~~~~~~~~~~~~~~~~~~~~~~~~~
Here's more...


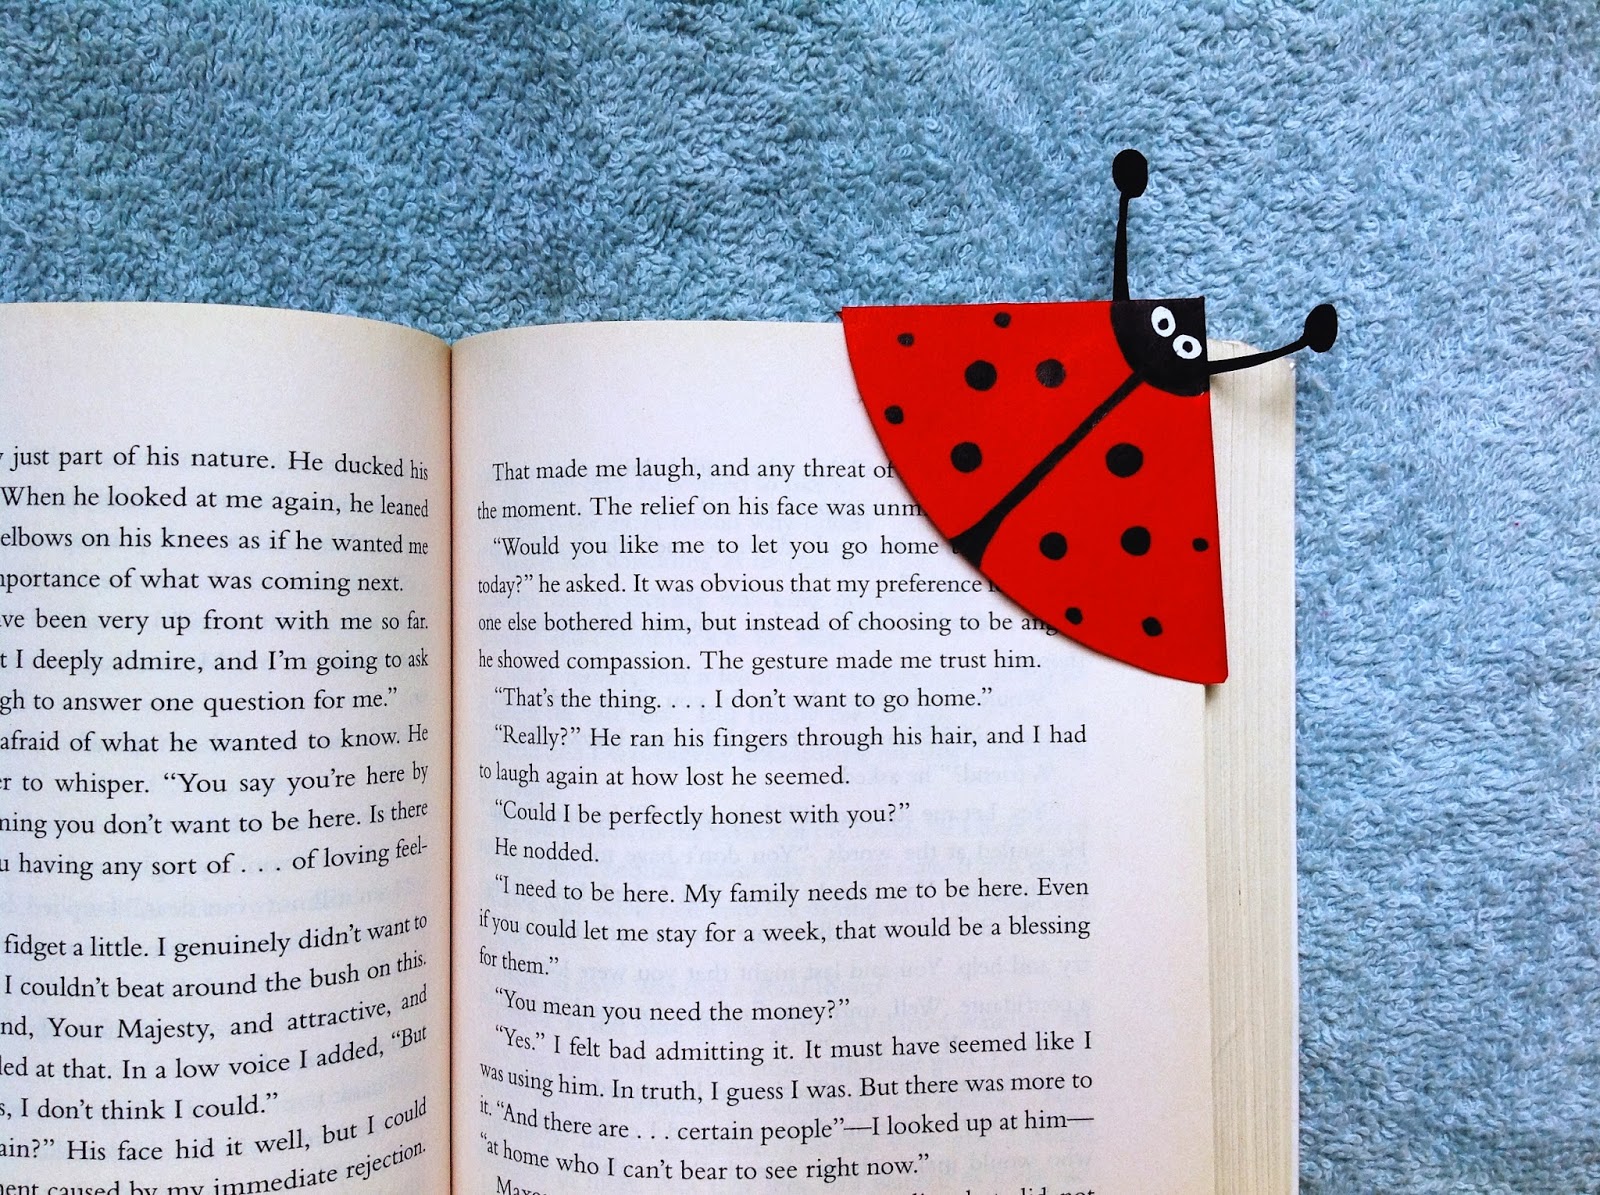
- I've decided to create a lady bug design. I just did the same steps above on how to make this corner bookmark. The only difference is I flipped it over.

- Using scissors, I cut the end in a curved shape. I used a black colored paper and cut an antenna shape. I used a black colored pen to add more details.

- Sooooo cuteeee!
~~~~~~~~~~~~~~~~~~~~~~~~~~~~~~~~~~~~~~~~~~~~~~
... And more!
- It's so much fun to do! So I've created more. Take a look :)


What are you waiting for? Make your own too! You can browse on Pinterest to get some inspirations :) Don't be afraid to experiment. Good luck!
Soooooo cuteeeee <3
ReplyDeleteThe panda is so ughhhhhdorable!
ReplyDeleteThe panda :3
ReplyDeleteOmg! I would want to try making this. It looks easy and fun doing it! Keep up the good work Jesse..Love from Canada ��
ReplyDeleteLoving this!! Keep up the awesome work
ReplyDeleteJesse